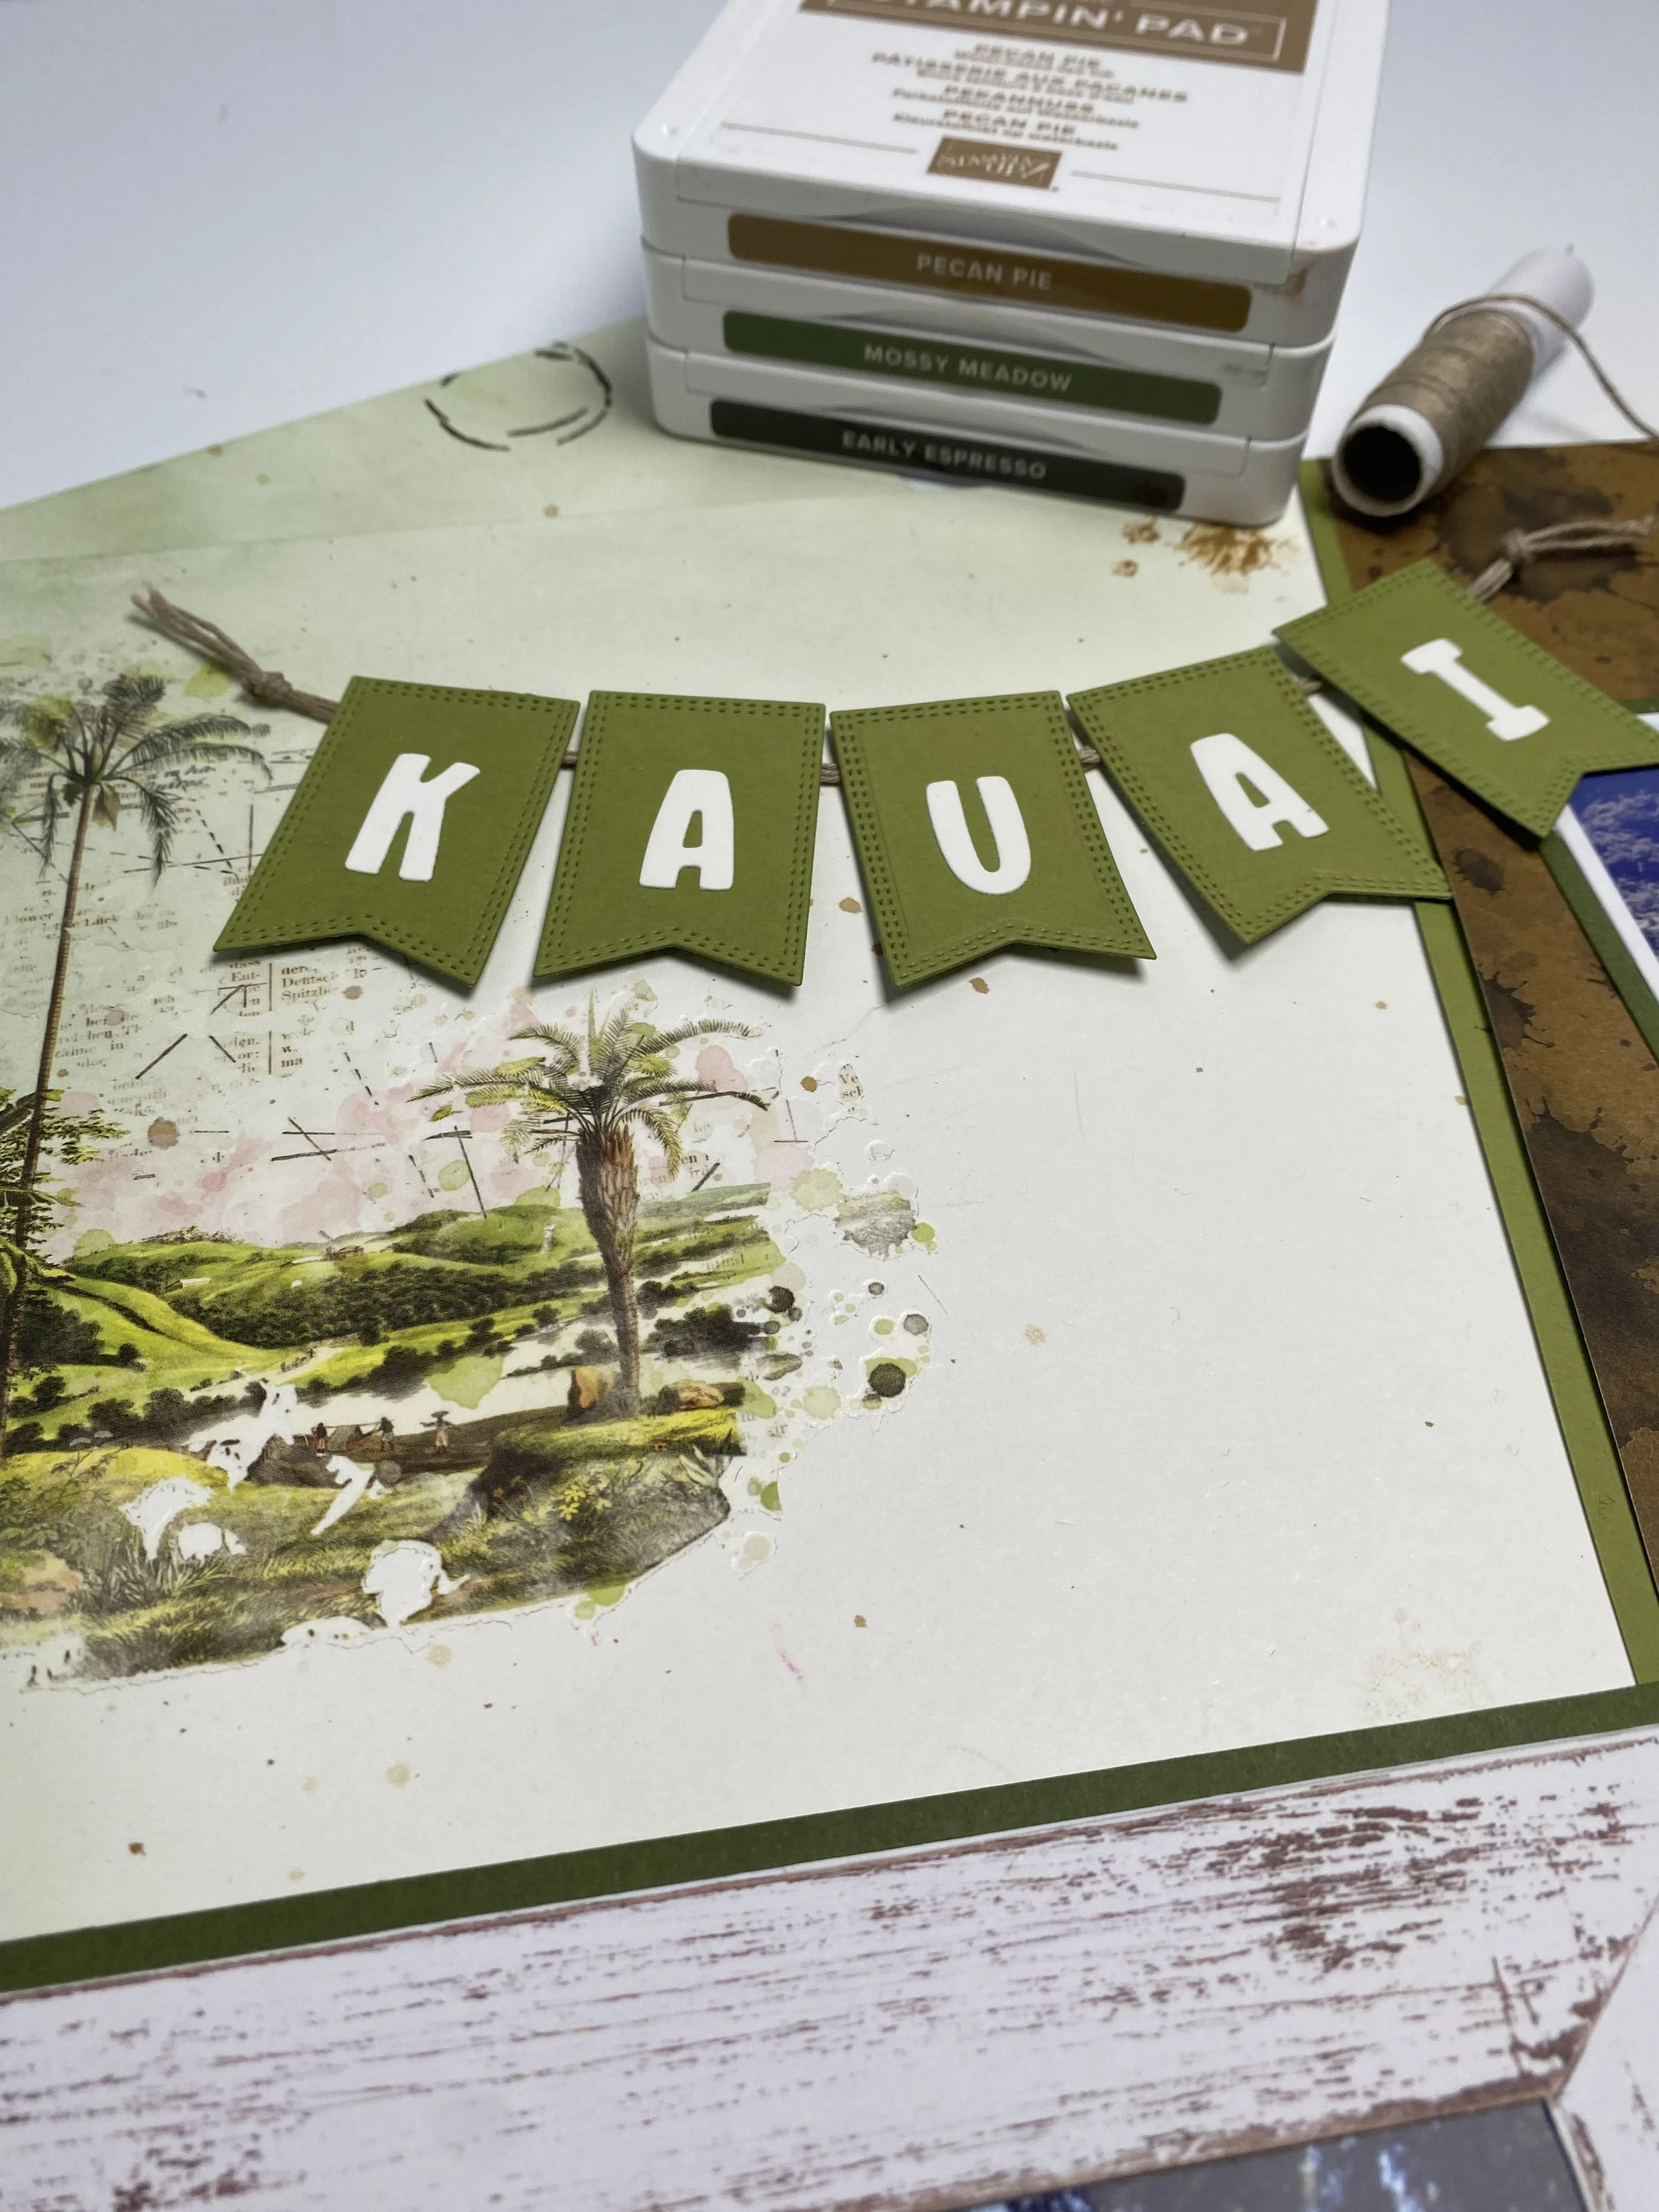
Revved Up and Ready: Scrapbooking Our Kauai Quad Adventure
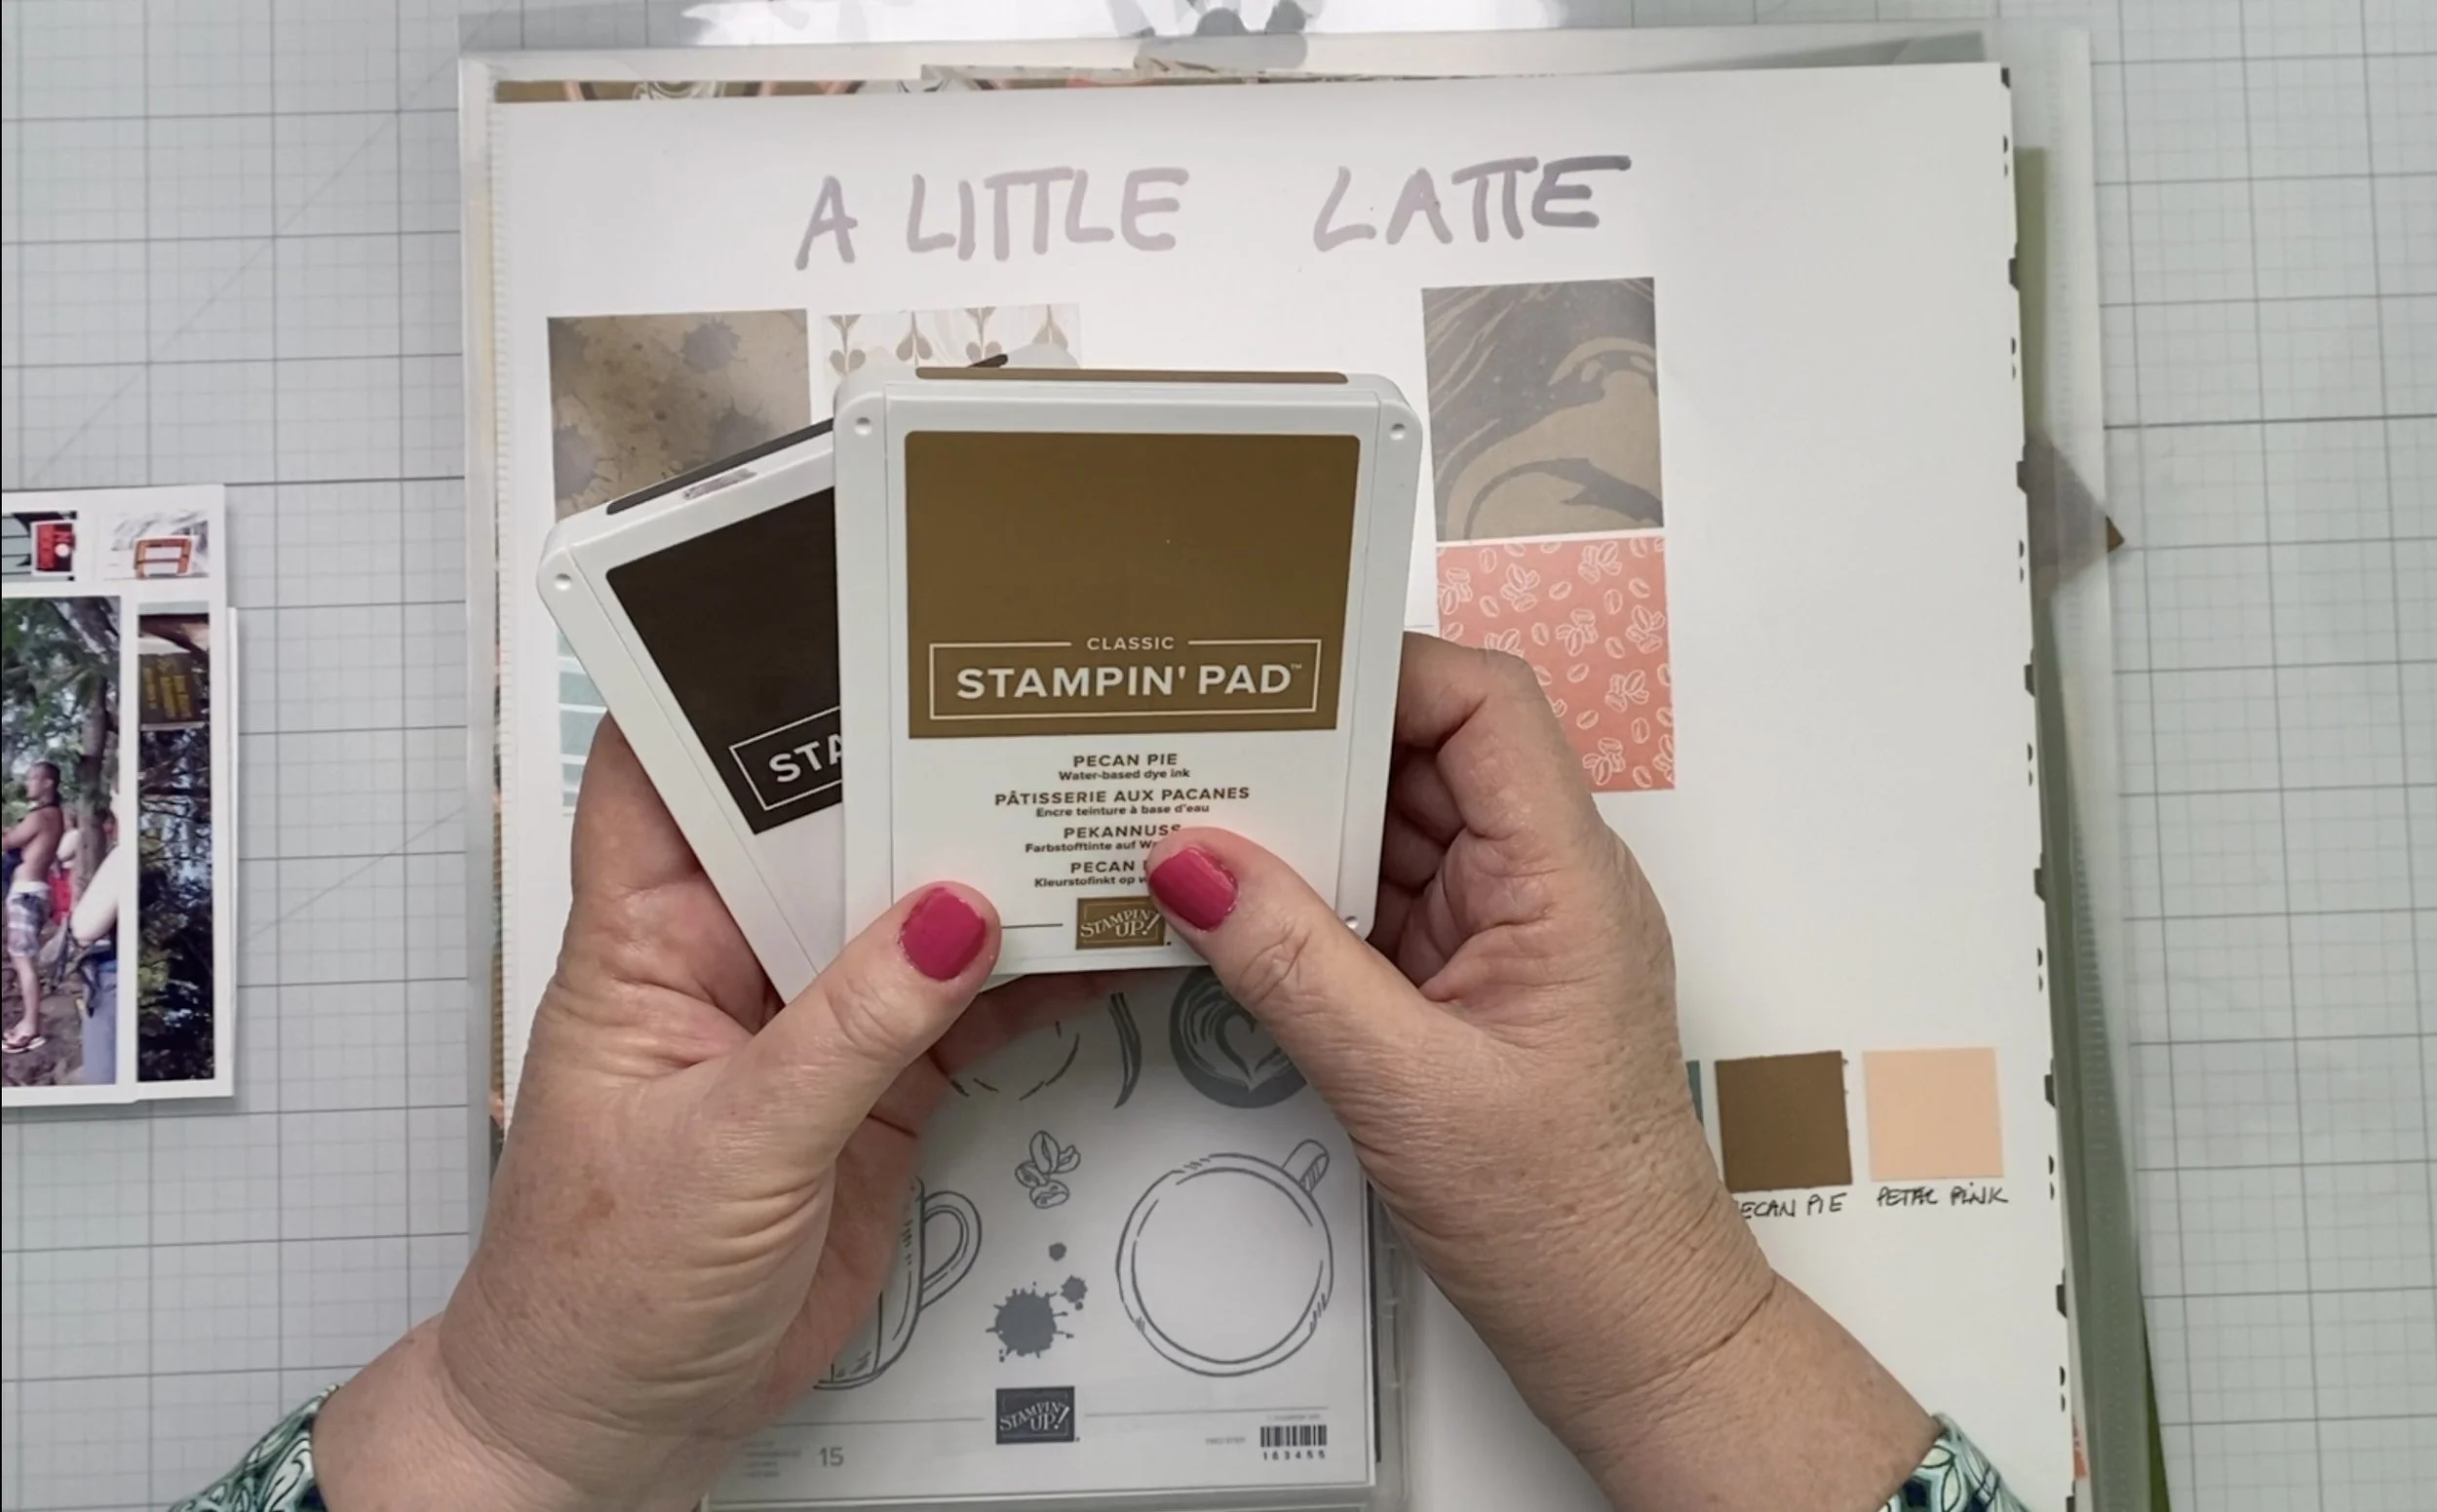
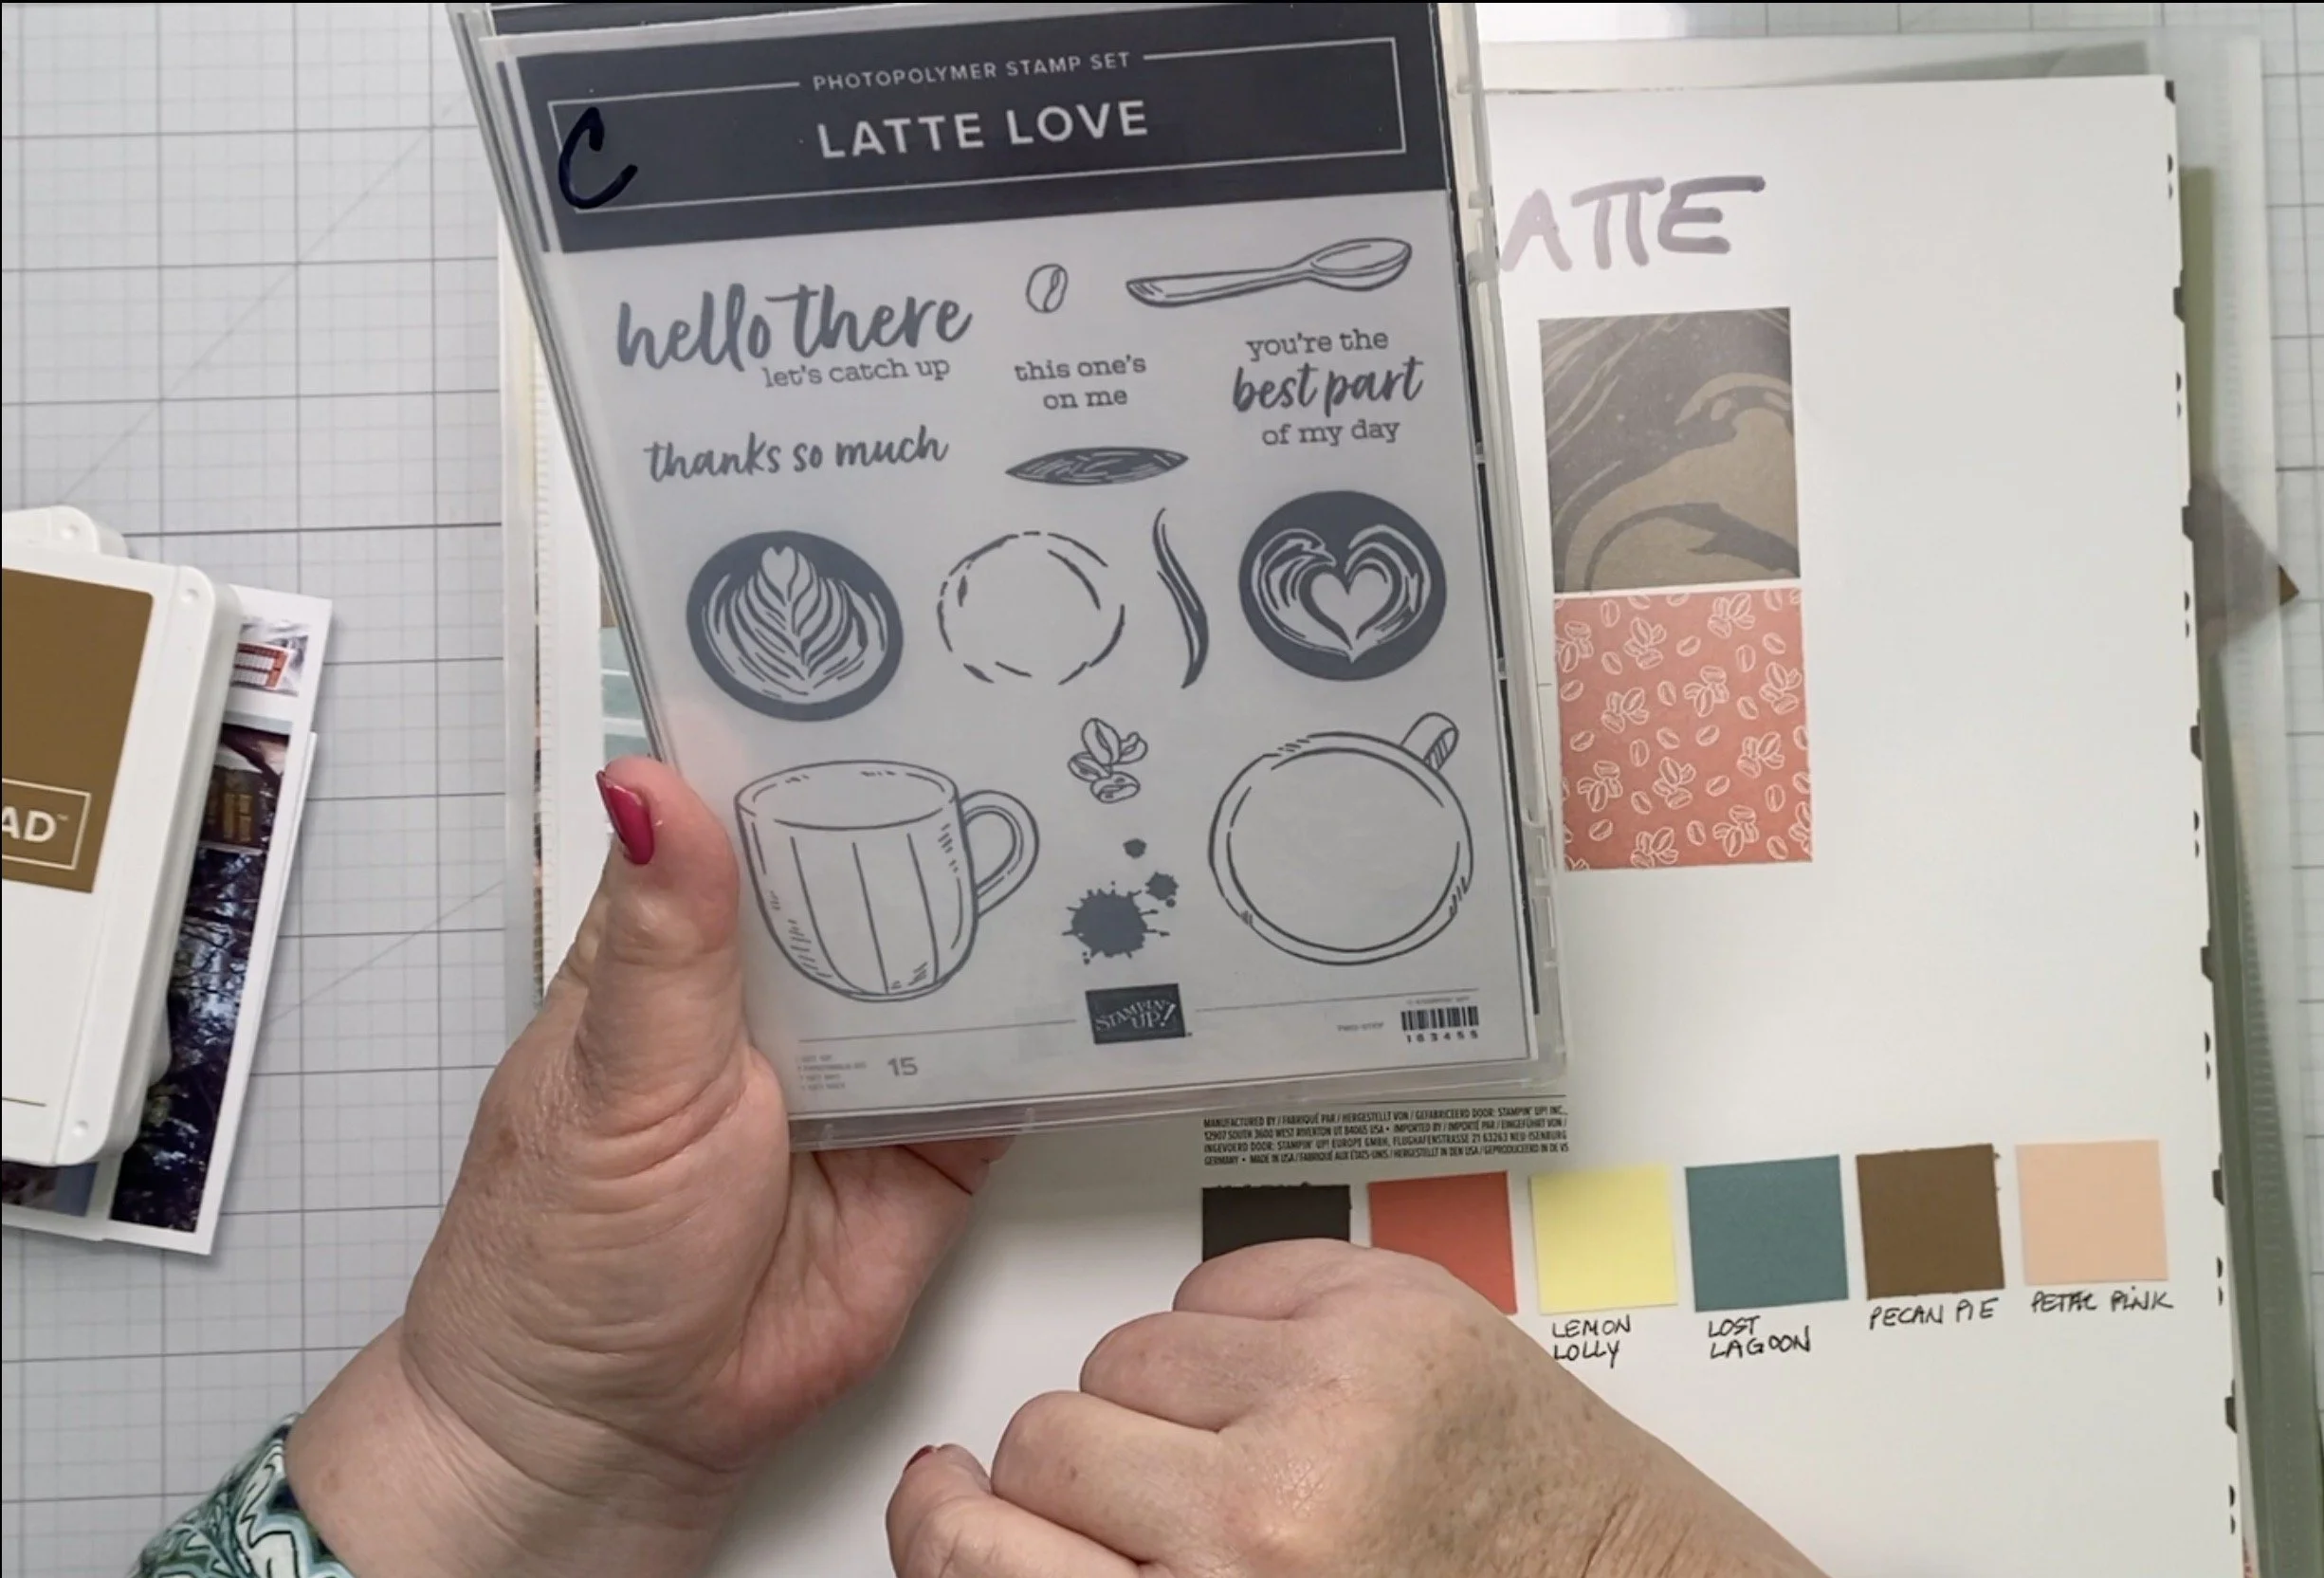
Picture this: Bob and I, tearing through Kauai’s lush backcountry on a quad tour, dodging mud puddles (or maybe aiming for them—it’s all a blur). By the end of the ride, we looked more like living sculptures made of clay than intrepid adventurers. Naturally, such a gloriously messy memory deserved a scrapbook page as wild as the experience itself! Enter: the "A Little Latte Love" collection from Stampin' Up—and yes, I know what you're thinking. Coffee-themed paper for a mud-soaked adventure? It’s called creative license, and I think it worked!
A Muddy ‘Masterpiece’
The two-page layout I created is a celebration of texture, layers, and yes, a little bit of chaos (just like our quad ride). The warm browns and creamy tones from the collection perfectly mimicked the splashes of mud we sped through. Who needs themed paper when you can turn latte swirls into backcountry artistry? Here’s how I brought this muddy tale to life, complete with five fabulous techniques:
1. Inking: Getting Grungy
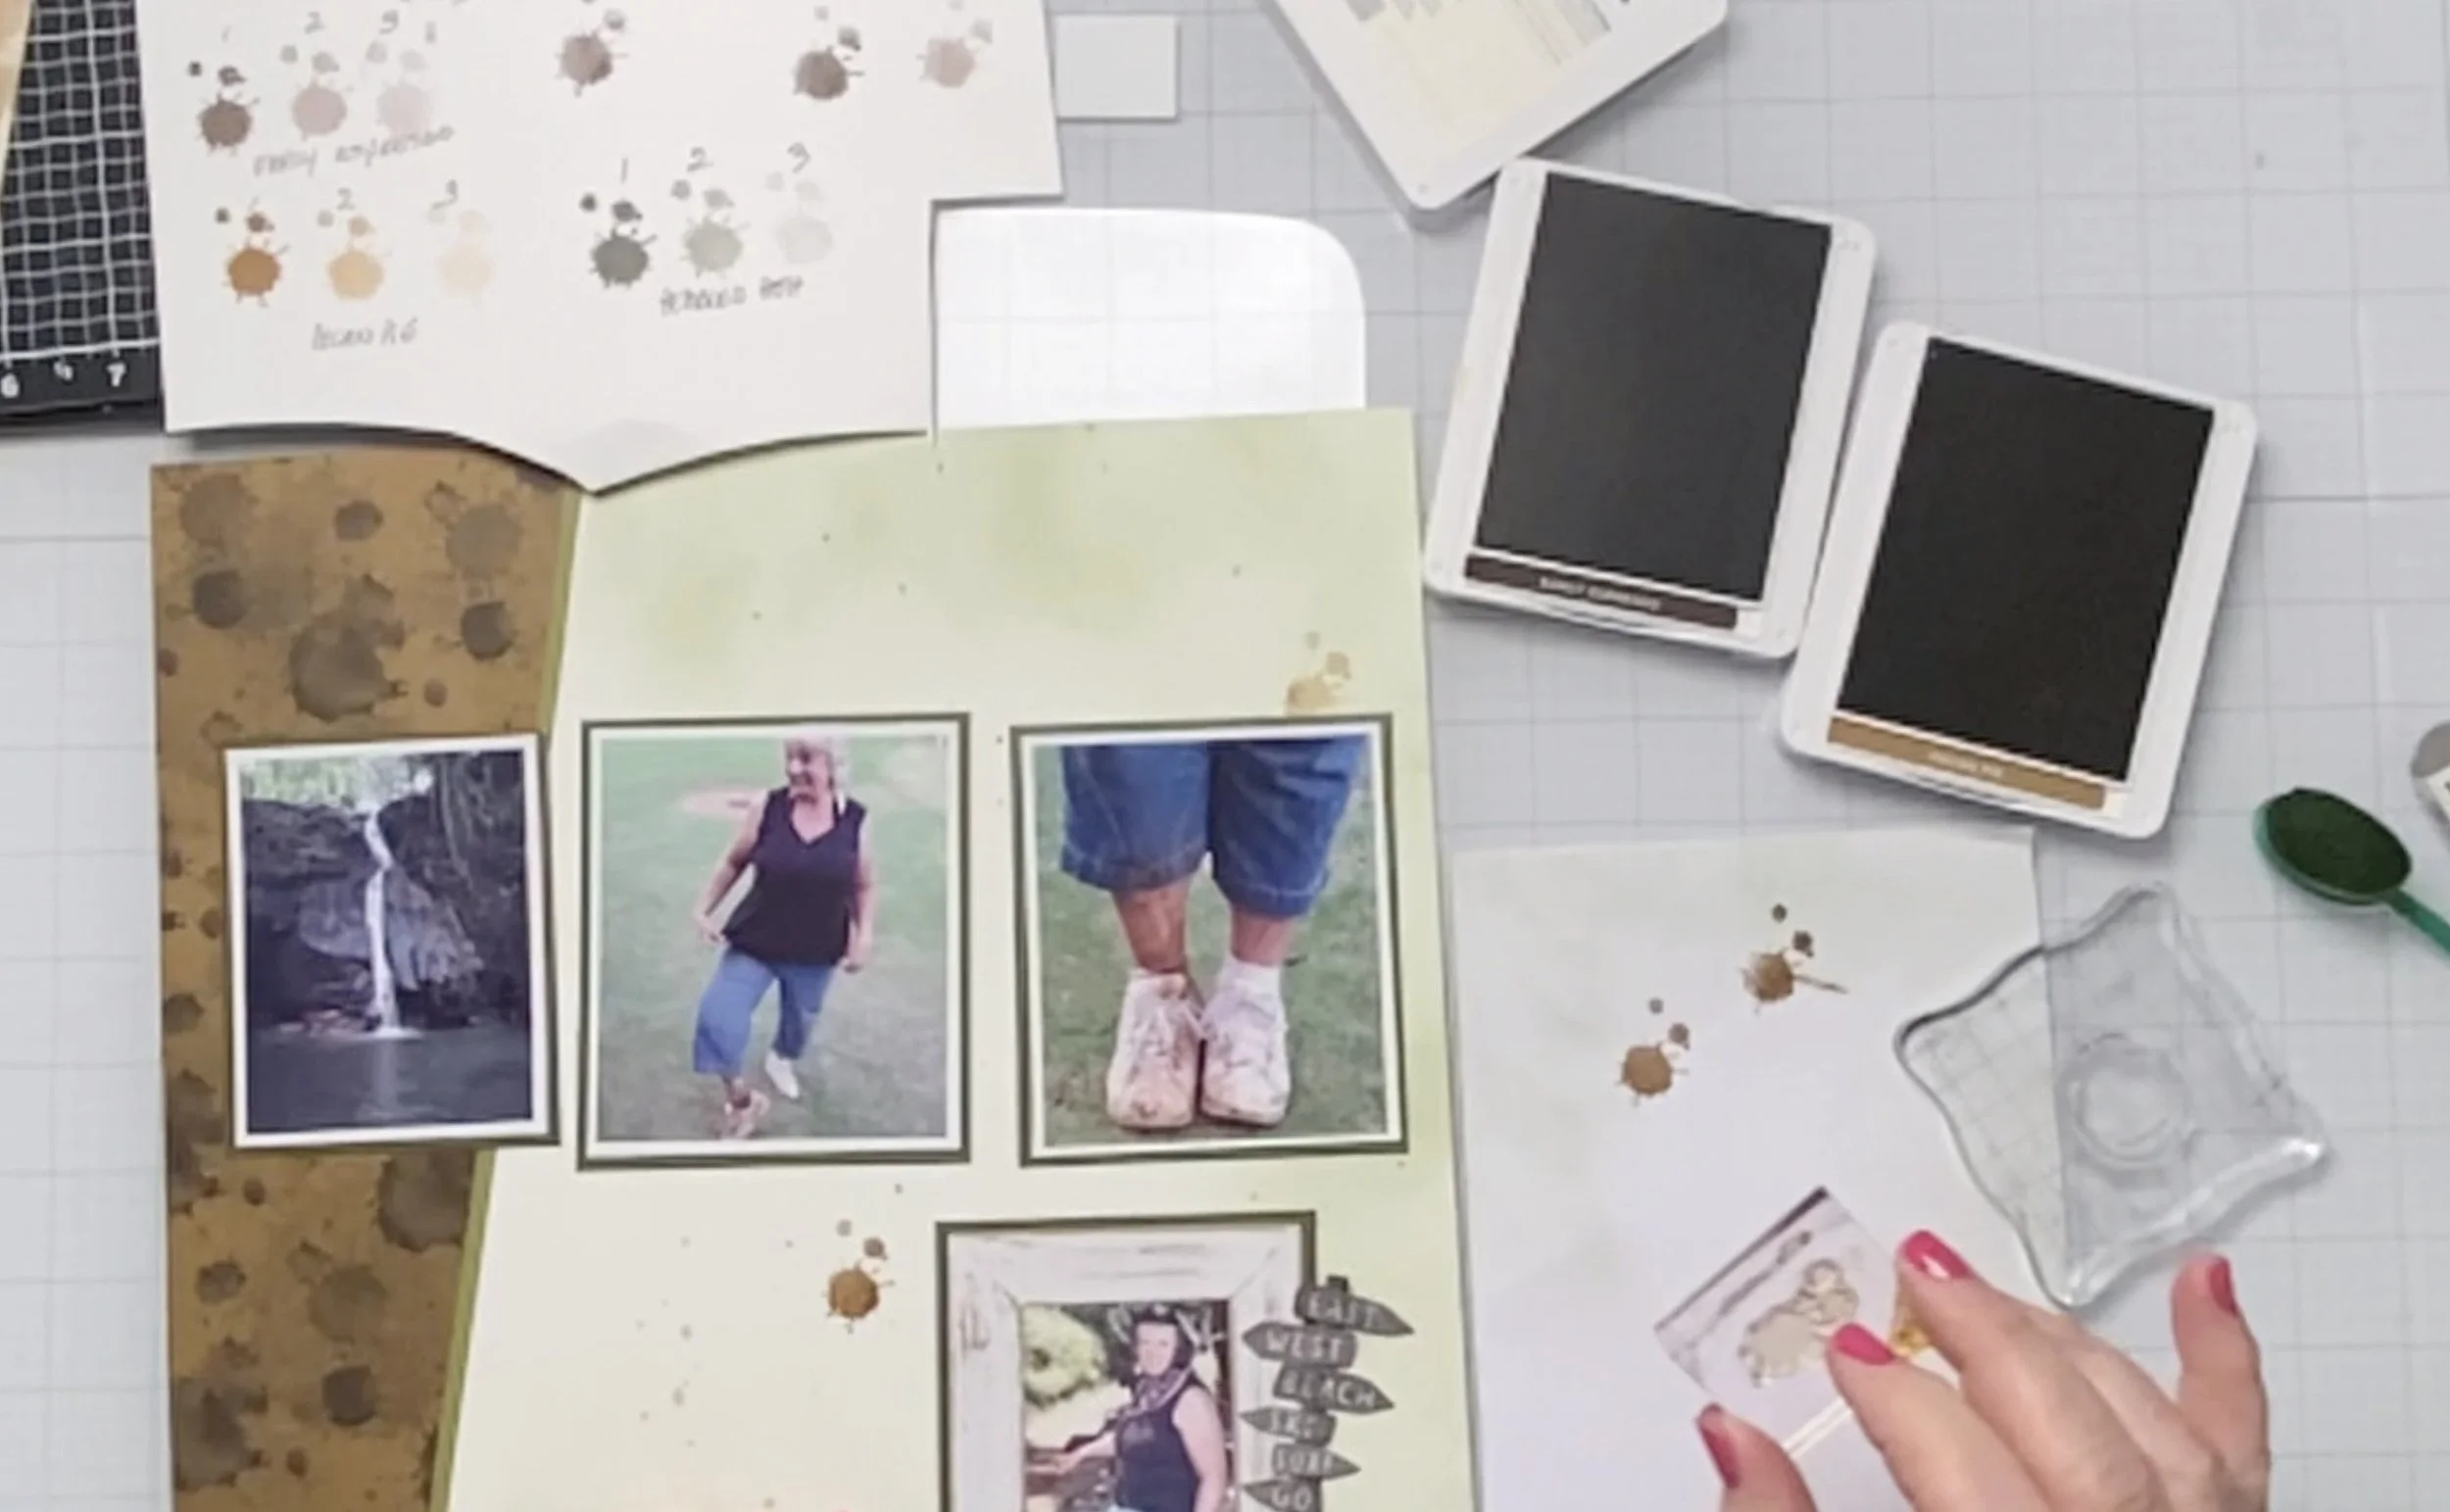
To capture the splatter-filled essence of our ride, I used ink to stamps from the Latte Love stamp set, in combination of various ink colors, to represent mud. A little swipe here, a smudge there, and suddenly the page had all the rugged charm of an off-road trail. Pro tip: If your fingers aren’t stained, you’re not inking hard enough!
2. Layering Dies: Building Depth
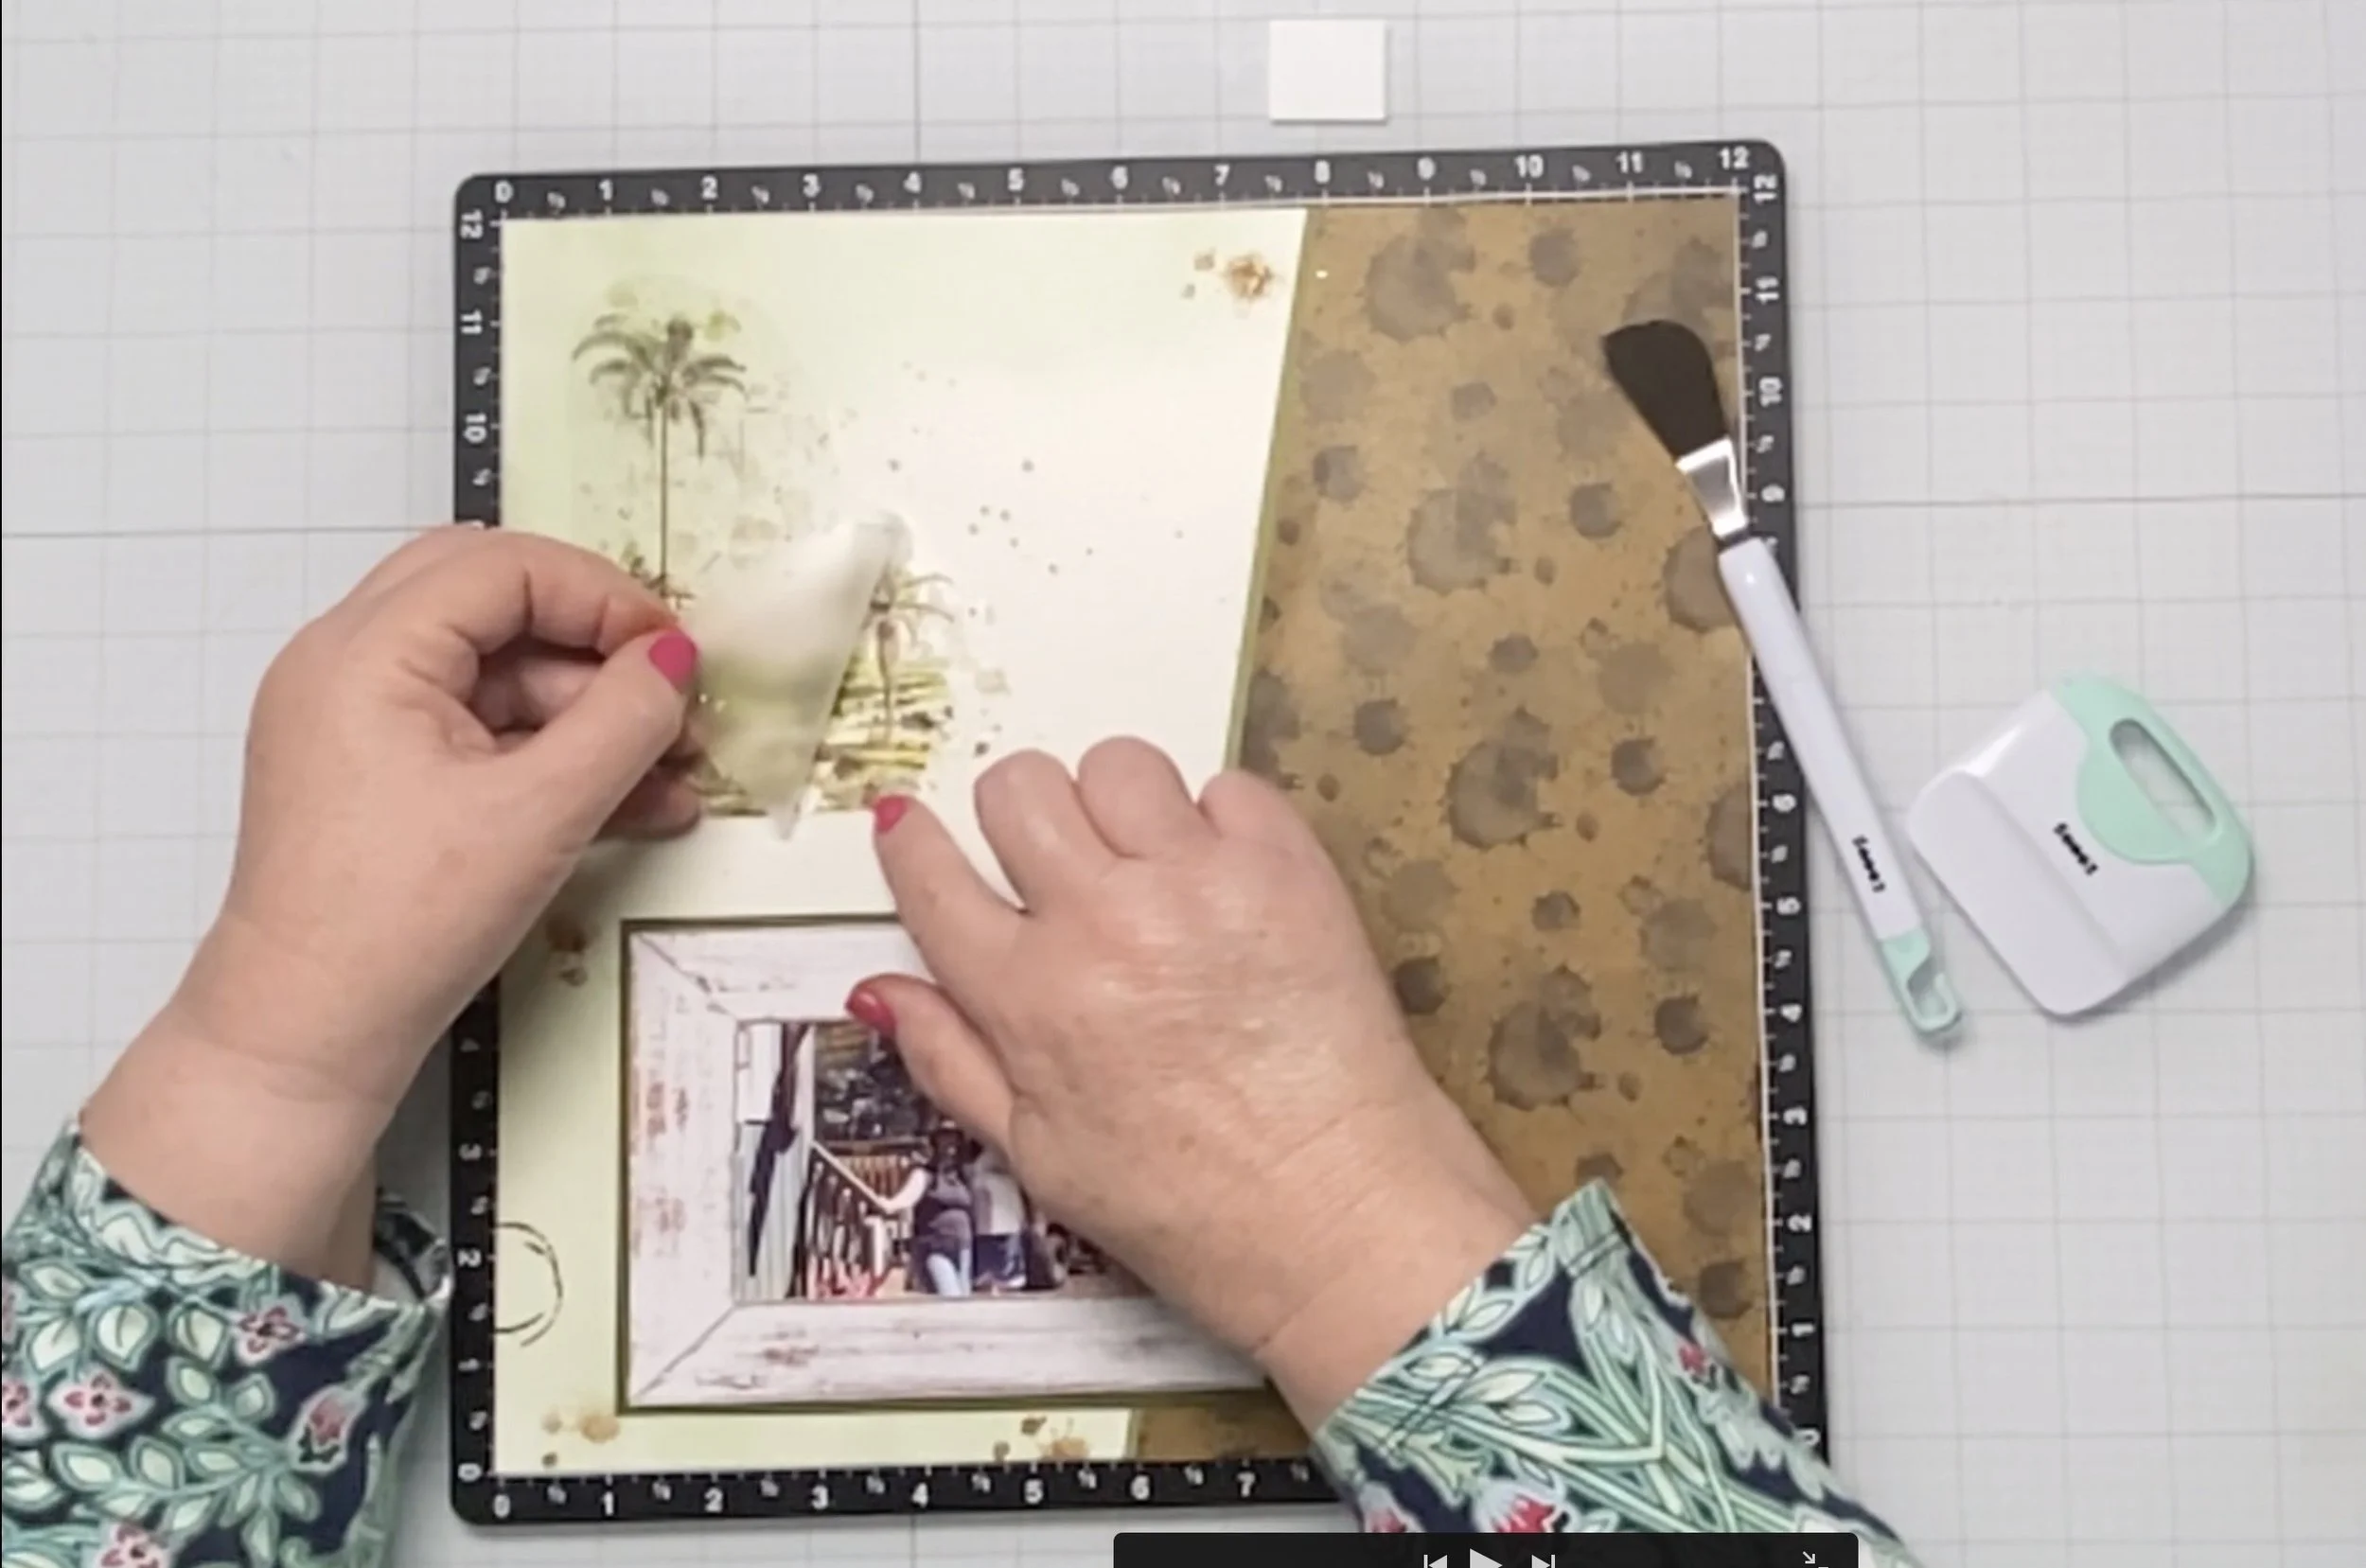
Much like the layers of mud on Bob’s shoes (which, by the way, are still “drying out”), I built up the page with layered die-cuts. I used palm shapes and geometric patterns to evoke the wild greenery and craggy trails. Layering adds dimension, and honestly, who doesn’t love a page that practically jumps out of the album?
3. Thickening Up Ribbon
When I couldn’t find a twine chunky enough to represent the ropes and rugged straps from our gear, I got crafty. By layering several pieces of twine together and securing them with glue, I created a sturdy embellishment that practically screams “Hold on tight!” It’s a little hack that’s equal parts practical and fun.
4. Second Generation Stamping: Subtle and Chic
For a softer background effect, I used second-generation stamping. It’s a fancy way of saying I stamped once on scratch paper and then again on my layout without re-inking. This technique added a subtle touch of texture without overpowering the photos. Subtle, yet essential—like the goggles I should have worn on the tour.
5. Rub-Ons: Smooth Operators
Ah, rub-ons—the love-hate relationship of the crafting world. But guess what? I nailed it! With a little patience (and maybe a few motivational pep talks), I applied my rub-on design to highlight key moments. The rub-on, positioned above a snapshot of us drenched in mud, really ties the whole story together.
The Result: Muddy and Marvelous
This layout doesn’t just tell the story of our Kauai adventure; it feels like it. The warm, earthy tones and textured layers pull you right into the action (minus the clean-up—you’re welcome). It’s a testament to how you can take an unexpected collection like "A Little Latte Love" and use it in a way that’s completely outside the coffee shop.
So, if you’re wondering whether you should turn your next muddy escapade into a scrapbook layout, the answer is YES. And if you’re hesitant about getting a little messy with your supplies, remember: that’s half the fun.
To see the complete video tutorial please click this link.

